quadrupling Malkovich
¶ by Rob FrieselFollowing up on the September post (“advise me: enhancing storage“)–we went ahead and put a shiny new 1 TB Western Digital hard drive 1 into Malkovich, effectively quadrupling the storage (re this particular problem) and paving the way for a lot more life out of this ol’ iMac.
The idea for this particular upgrade owes some thanks to Arden at dtgeeks.com and Wilson Rothman at Gizmodo. For those of you looking to do this as well, budget about an hour and make sure you’ve got a small Phillips head screwdriver and also a TORX 10 bitdriver. Oh, and your Leopard install disk and your Time Machine back-up drive.
Now… here’s where we started:
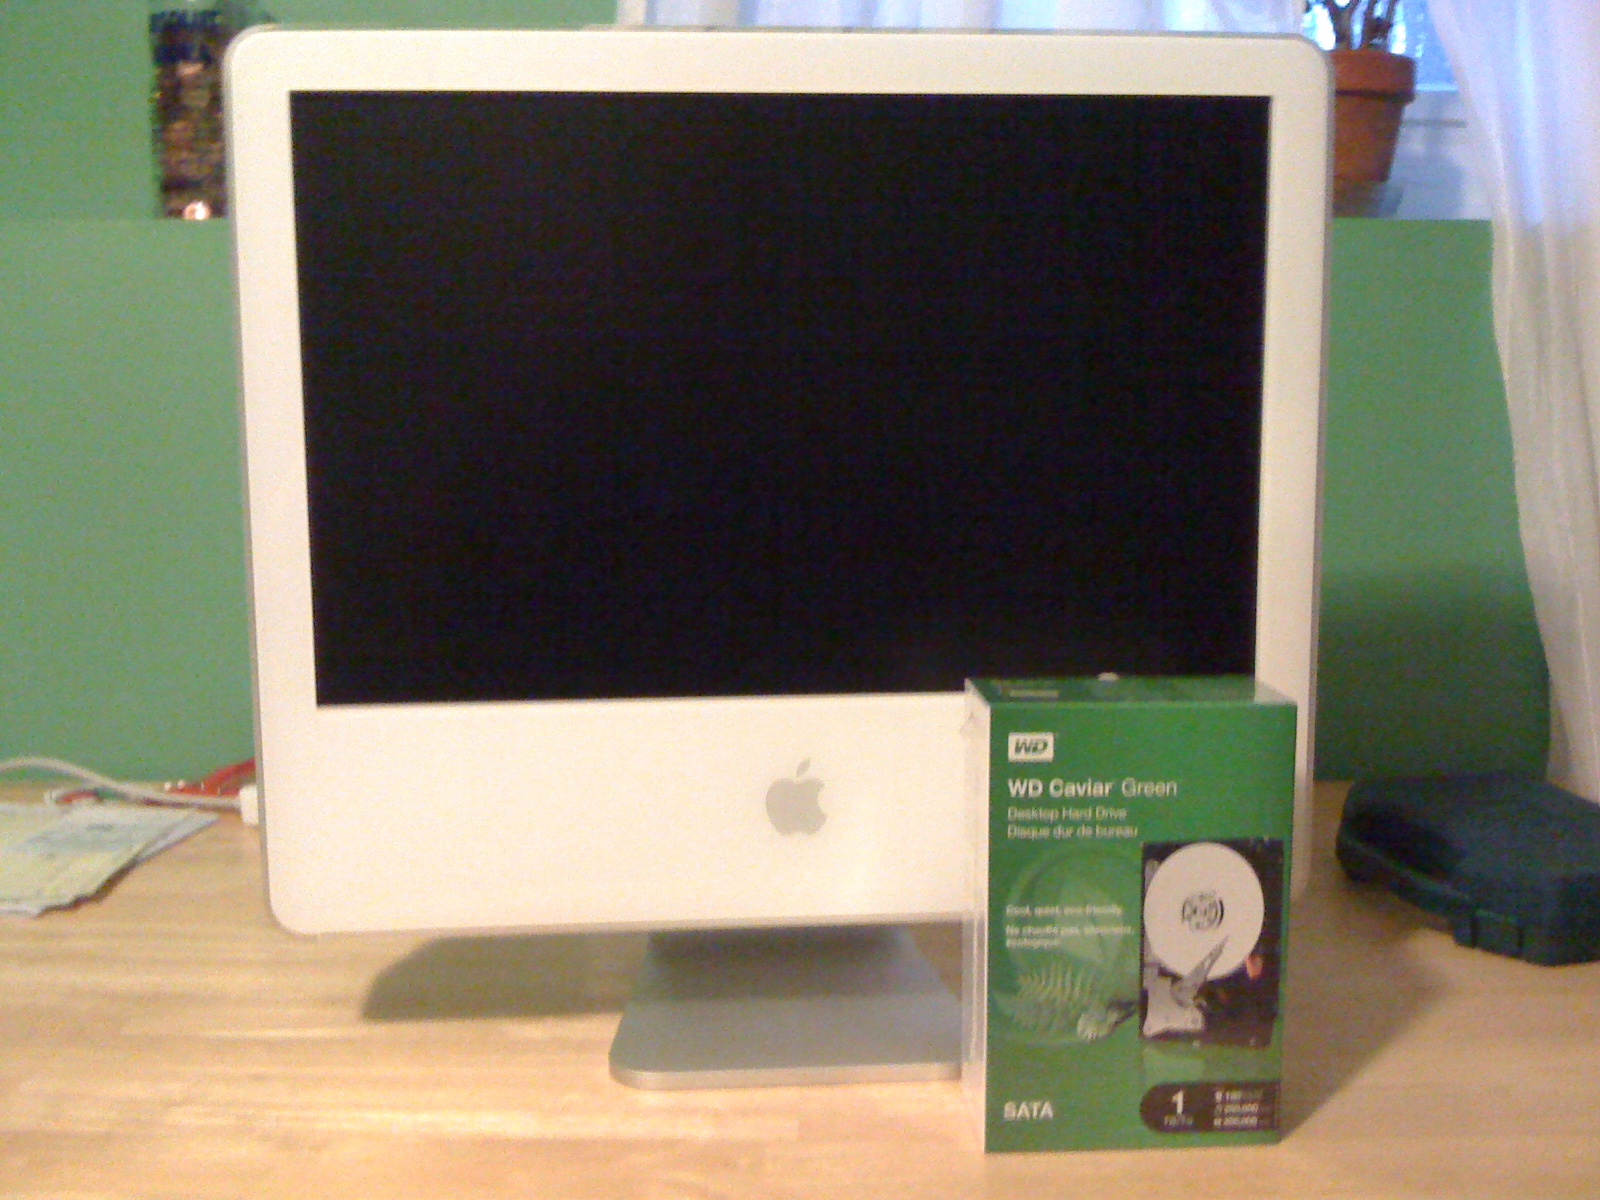
The plan: remove the 250GB Maxtor drive (“seemed big at the time!”) that came with the thing 2 and replace it with the 1TB Western Digital drive that boasted all the speed benefits of SATA with some additional optimization for reduced energy consumption. Alright… go.
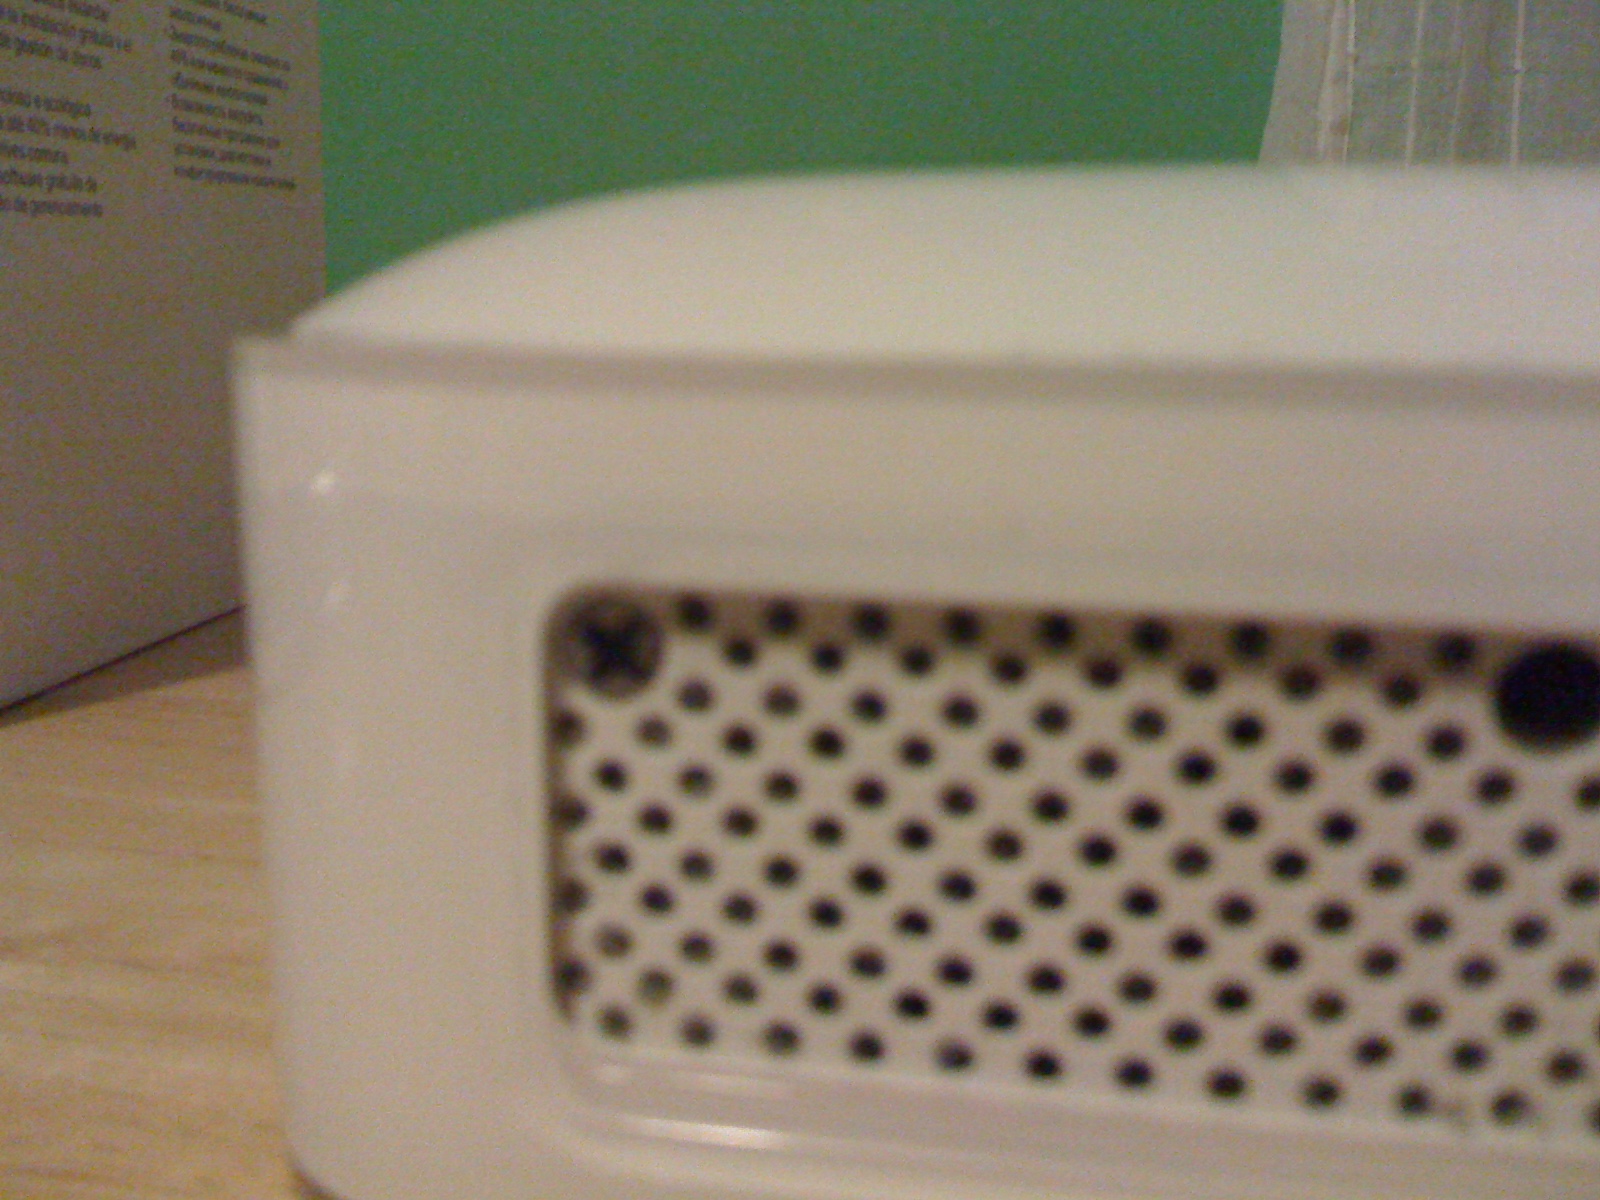
First order of business is to pull the back of the iMac off. This is easy. There are three “lossless” screws on the bottom grill. Lay the iMac flat and unscrew; gently lift the chassis backing off. Well done.

OK, now we’re inside. Do yourself a favor and blow out the dust. Good job. Now you see the hard drive? It’s the green PCB in the sea of blue PCB. Upper right. Yeah, that’s it. We want to get that out.
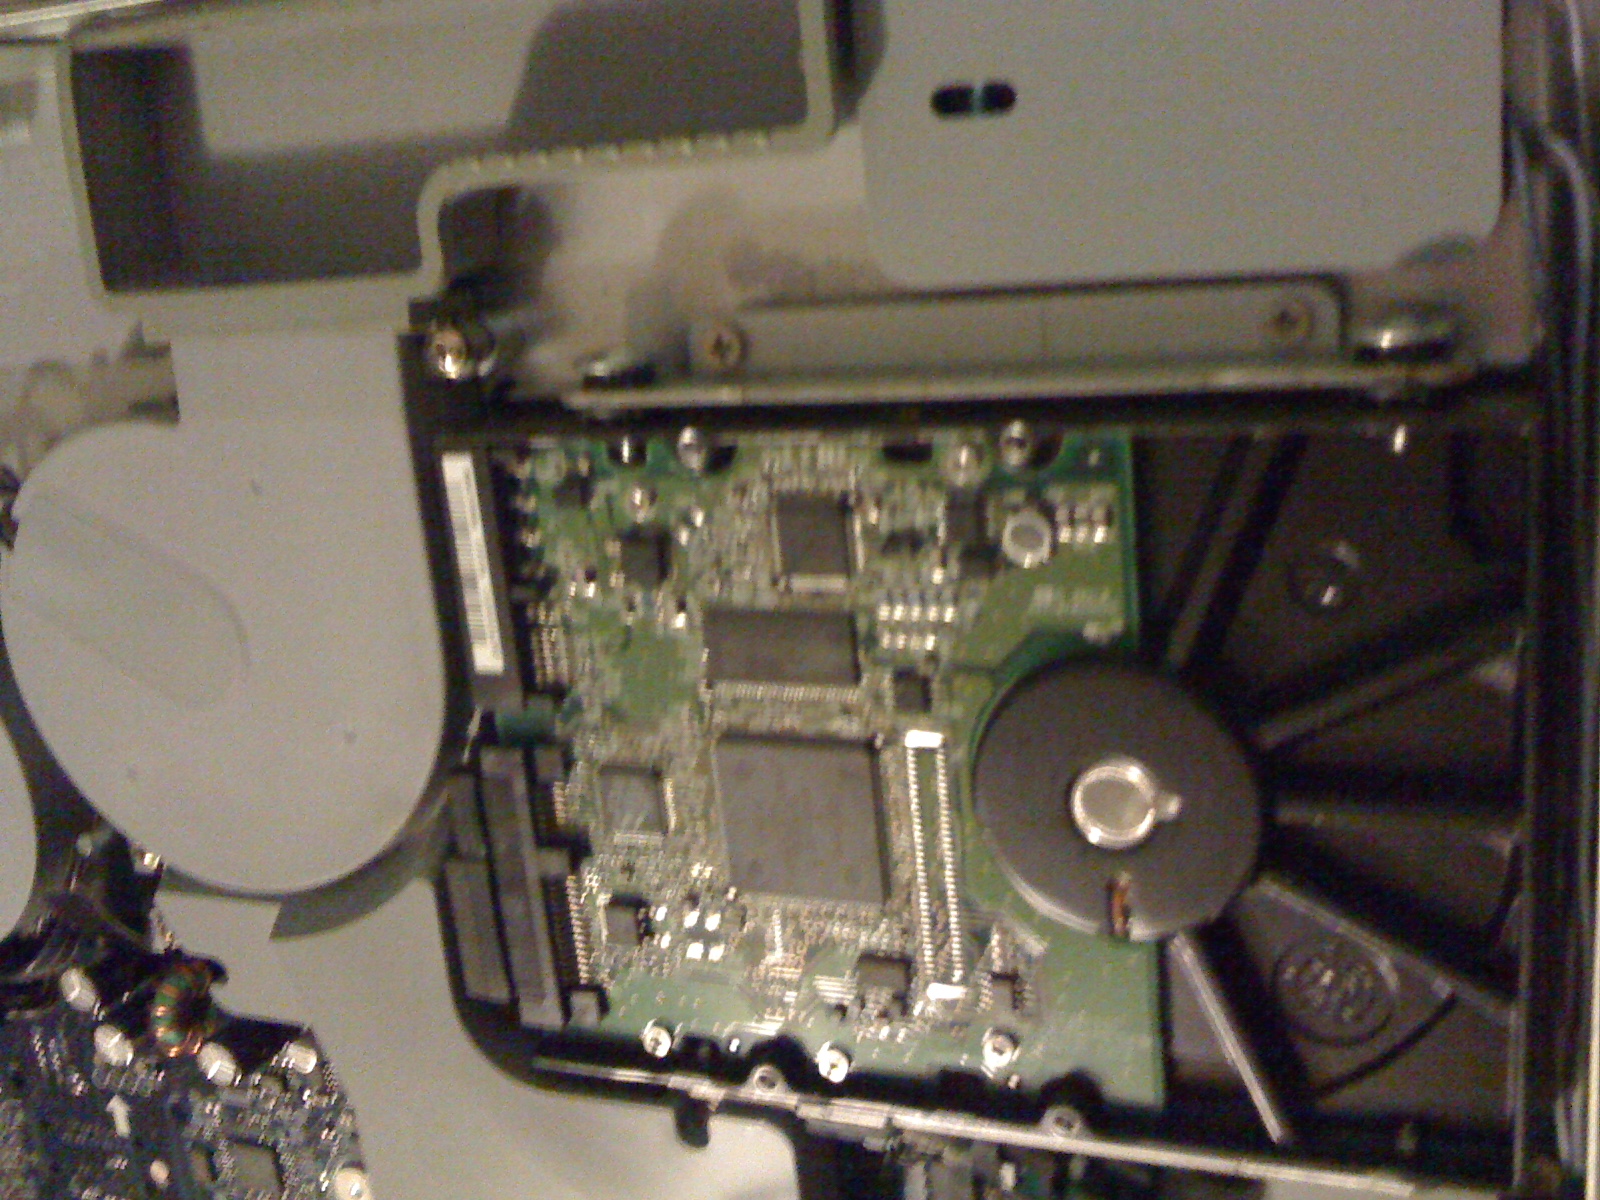
Now that we have gone in for a closer look. Observe how the hard drive is in that bracket? What we need to do is: (1) unscrew the bracket; (2) remove the tiny cable on the “bottom” [see photo at this link]; (3) disconnect the power etc. cables; and then remove the bracket from the drive – because we’ll need it for the new drive.
Use the Phillips to unscrew the bracket from the chassis. Should be one screw on the bottom (by the memory modules) and two up top.
Now gently lift the drive up just a bit and use your fingernails to gently pull that tiny cable from the bottom of the drive/bracket. It’s delicate, so be careful. Nice job.
Lastly, pull the data and power cables from the rear of the drive with your fingers. Now lift the whole drive out of the slot. This is where your TORX 10 bitdriver comes in handy.
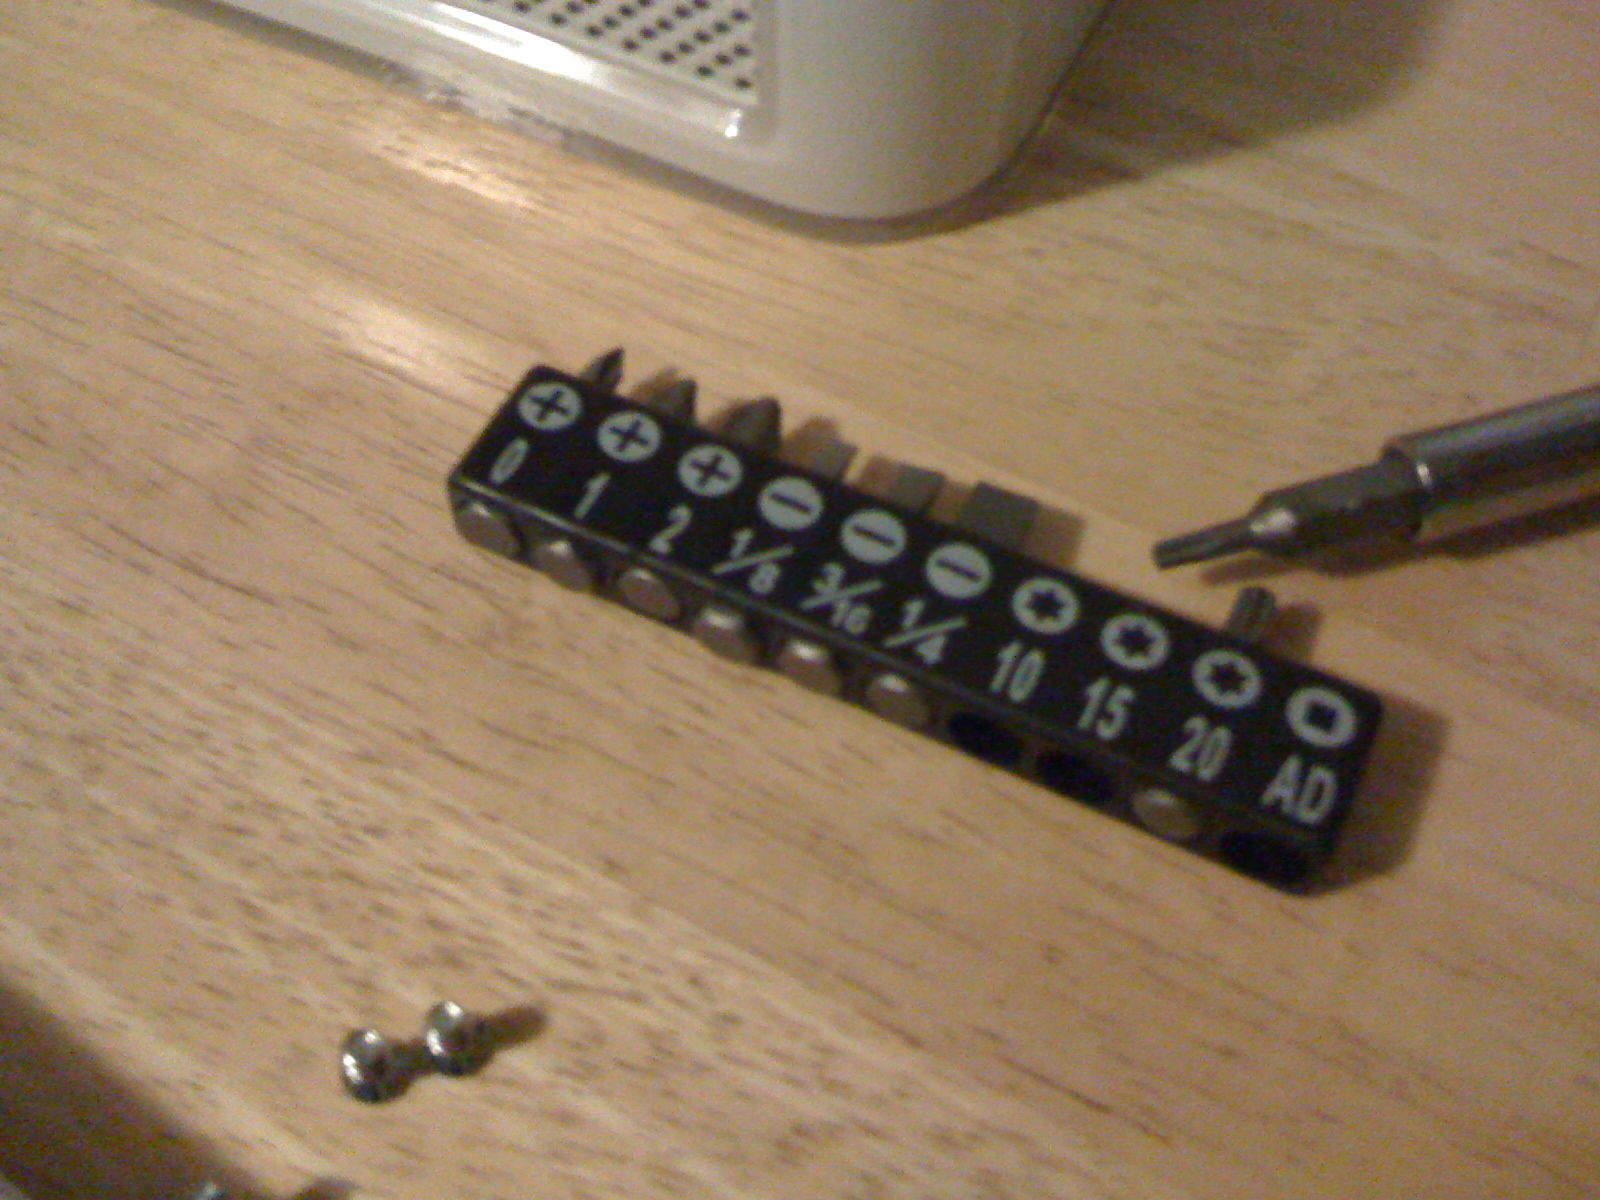
The hard drive is held into the custom-designed extra specially awesome Apple chassis by this weird little bracket. And that’s fine – but the bracket isn’t held to the drive with your usual flathead or Phillips screwdriver. Oh no. They went extra fancy and used TORX screws. Fortunately, I happened to have a toolkit that just happened to have the right size TORX head – a size 10. Use the TORX 10 to remove the 4 TORX screws (2 on the top, 2 on the bottom) and thus remove the bracket from the old drive. You may now commence celebrating. This is basically the halfway point.
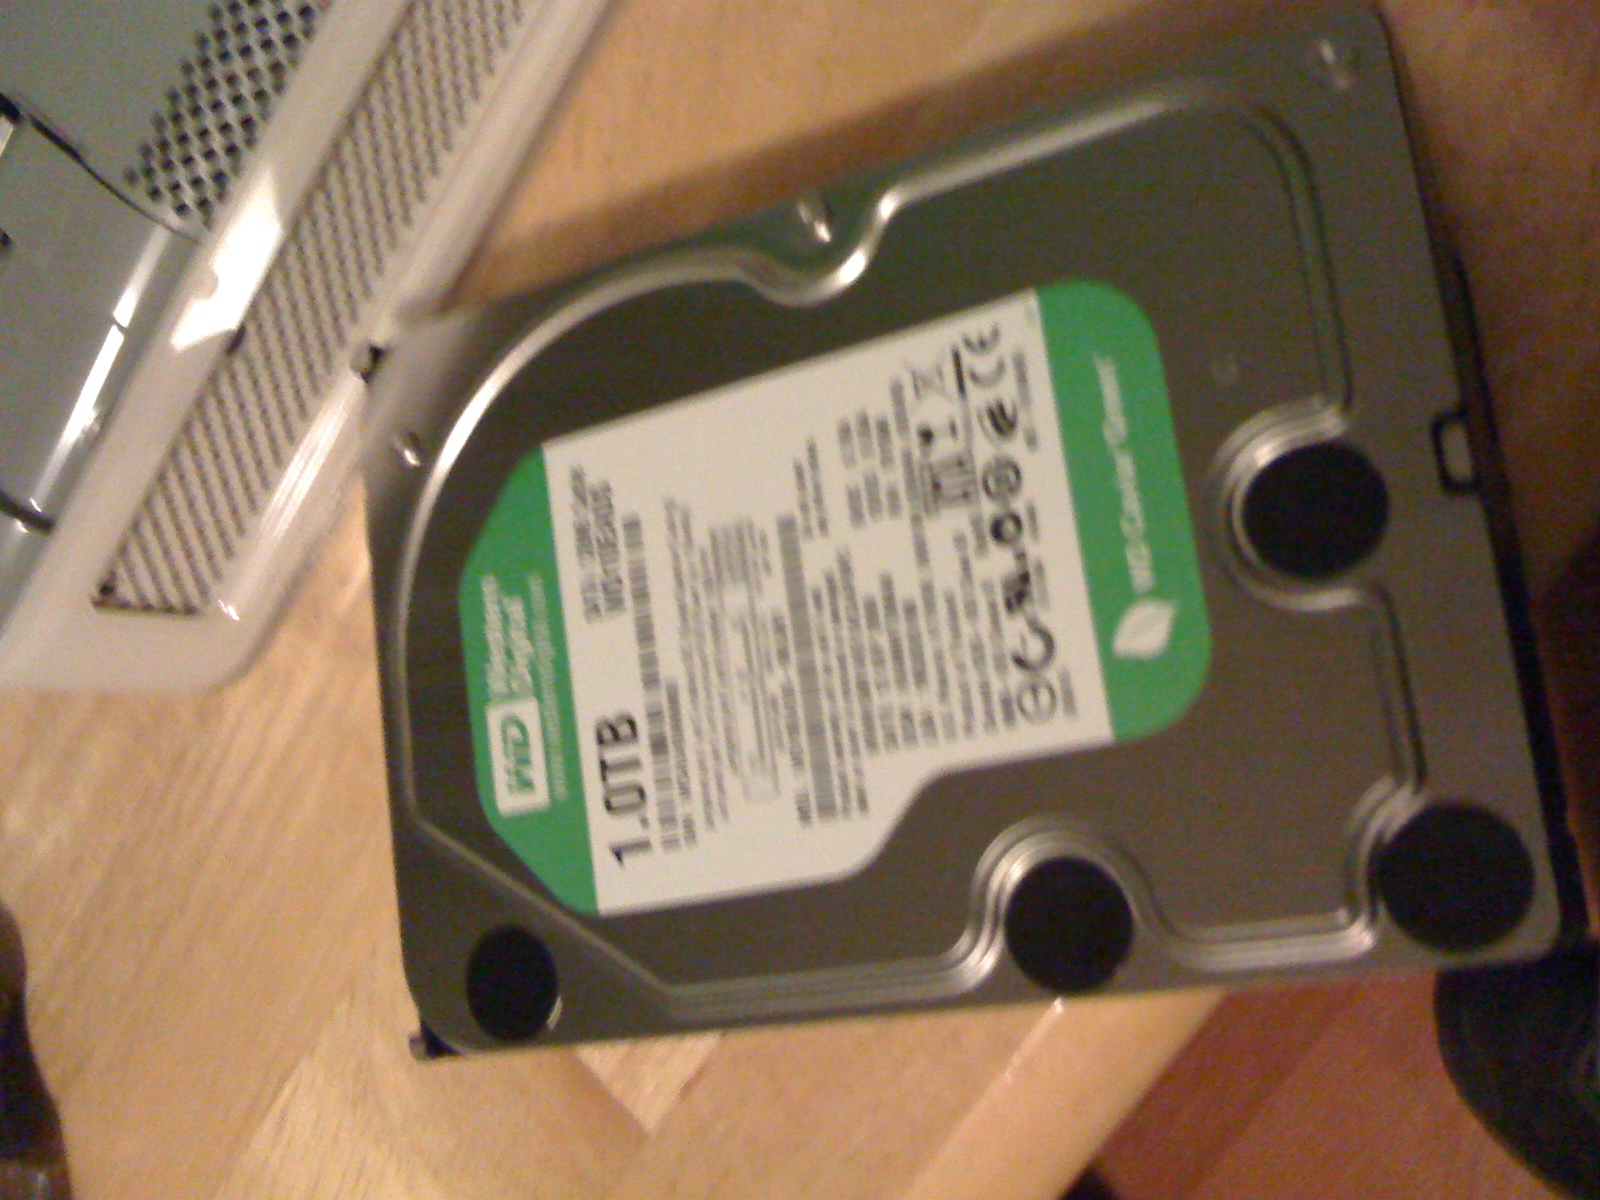
As I mentioned above, we went with a 1 TB WD Caviar Green drive (pictured here, above) to effectively quadruple the storage capacity of our aging iMac. The rest should feel easy:
Use the TORX 10 to put the bracket on the new drive. Attach the data and power cables to the new drive. Lower it down into the bay and attach the little “other/misc.” cable. Screw the bracket into the chassis. Replace chassis backing etc. Awesome. Hardware section complete.

Now comes the software section: for this section, I will basically defer you to the above mentioned article by Wilson Rothman.
Start the computer with the Leopard install DVD in it and boot from the disc.
You’ll need to use Disk Utility to format/partition the drive.
Then you can restore from Time Machine.
Except it’s a little more complicated than that. Rothman wrote it up as follows:
Once you open up the system and swap out the drives, you can set the old drive aside, hopefully never to use it again. Assuming all went well, you restart the system and insert an OS X Leopard installation DVD. You won’t need the OS installer on it, but you will need it to act as mediator between the Time Machine backup drive and the newly installed blank drive. Once it boots up (you may need to manually restart to get it to work right) follow these instructions CAREFULLY:
1. Choose your language.
2. At the main screen, choose Disk Utility from the Utilities pull-down menu.
3. Select the drive itself and click on Partition.
4. In the Partition menu, select 1 Partition and Options… where you choose GUID Partition Table. Click OK then Apply, then say “yes” to whatever warning comes up.
5. Once you have reformatted the drive, close the Disk Utility window.
6. Do Not Go Forward. Instead, when you see the main Welcome screen, click the Back button, which takes you to the language select page. It sounds silly but DO IT. This shakes the system into action.
7. Once you have reselected your language and are back on the Welcome screen, click Utilities and select Restore System From Backup…
8. The process should go smoothly from that point on. You simply select appropriate disks to copy your chosen backup data from your Time Machine drive to the new internal drive, as shown in the following sequence:
…and then a bunch of pictures.
Now note: he means it when he says to follow those instructions carefully. Especially that “Do Not Go Forward” bit. The installer system will lose track of the drive you just formatted/partitioned if you do that. Do the instructions above EXACTLY as described.
Except where he says “GUID Partition Table”, I did “Apple Partition Table”. Just pay attention to what the prompts say. It says right in the app which partition type is for Intel vs. PowerPC systems. Just “RTFM” 3 and you’ll be fine.
That concludes the hour. Then you just wait for your backup to finish restoring…:

Nine hours was a bit of a stretch though. It was really more like four or five.
FOLLOW-UP NOTES:
Spotlight is going to want to reindex itself; that will take a couple hours depending on how much data you have. Mail is going to want to set itself up again; but if you’re fortunate enough to use IMAP, this won’t be a big deal. iTunes is going to get confused about what computer you’re on again; you may need to re-authorize a few songs.
- Sorry Zeb; the 1.5TB was a good deal but bit-for-byte this was going to work out plenty fine for us.[↩]
- Only partially true: that Maxtor was already the second or third drive we’d gone through. But let’s not digress too much.[↩]
- Whereby “M” I mean “Screen”?[↩]
Leave a Reply